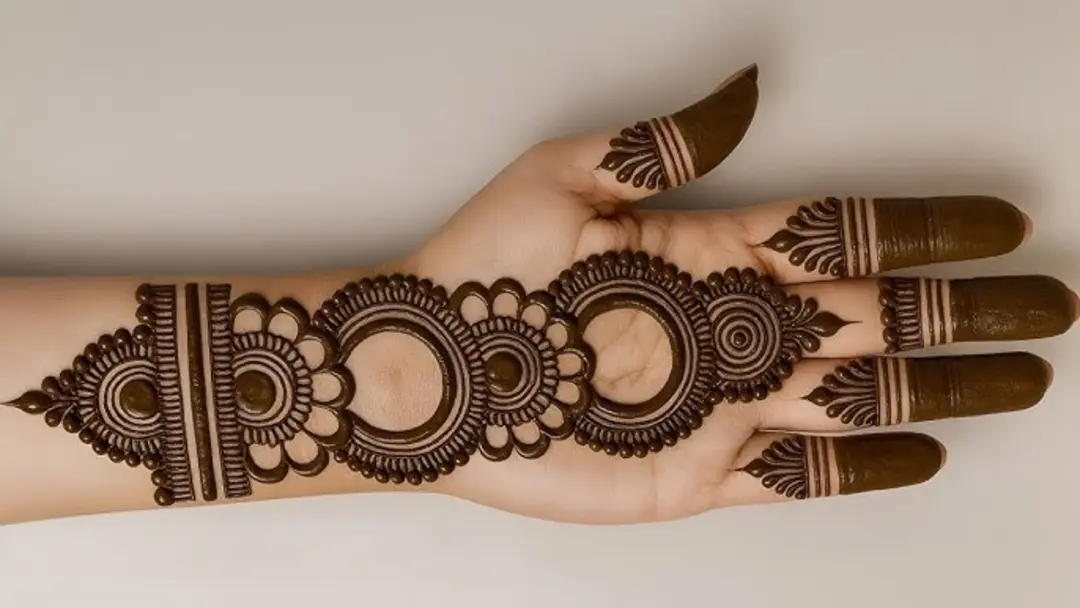
Learning mehndi for the first time can feel a little intimidating — especially when everyone around you is showing off gorgeous bridal designs. But if you’re a beginner looking for cute and simple mehndi designs for your front hand, you’re in the right place. These designs are not only easy to apply, but they are adorable, minimal, and perfect for casual occasions or just to practice your skills. Whether you’ve never held a henna cone or you’re just looking for quick, pretty patterns, this guide will walk you through everything you need: designs, tips, step-by-step tutorials, and more.
Why Choose Simple & Cute Mehndi Designs for Beginners
When you’re just starting out, elaborate bridal mehndi can feel overwhelming. Opting for simple designs is smart for several reasons:
-
Fast Application: Cute and minimal designs take less time to draw — ideal when you’re practicing or don’t want to spend hours.
-
Confidence Building: Simple motifs help you build control and precision before attempting more complex patterns.
-
Clean Look: These designs often have open spaces and soft flow, making your hands look elegant without being over-decorated.
-
Versatility: Whether it’s for a family gathering, a festival, or just daily fun, simple front-hand mehndi works for many occasions.
Basic Tools & Tips for Beginner Mehndi Application
To make your mehndi journey smooth and enjoyable, here are some essential tools and beginner-friendly tips:
-
Mehndi Cone / Paste: Choose a good-quality henna cone or paste that yields smooth lines. If possible, use a medium-fine tip cone — not too fine (can clog), not too broad (loses detail).
-
Paper Practice: Before drawing on your hand, practice on paper. Draw dots, swirls, and lines to build muscle memory.
-
Steady Your Hand: Rest your elbow on a flat surface, and use your pinky or ring finger to anchor against your skin while drawing.
-
Pressure Control: Squeeze the cone lightly to control the flow of henna. Too much pressure = blobs; too little = faint lines.
-
Dry Time & Aftercare: Let the mehndi dry fully (2–4 hours). Seal with a sugar-lemon mix or wrap gently if needed. Once dry, scrape off instead of washing, and avoid water for a few hours.
Top Beginner Cute Simple Mehndi Designs for Front Hands
Here are some easy yet adorable designs you can try, even if you’re new:
-
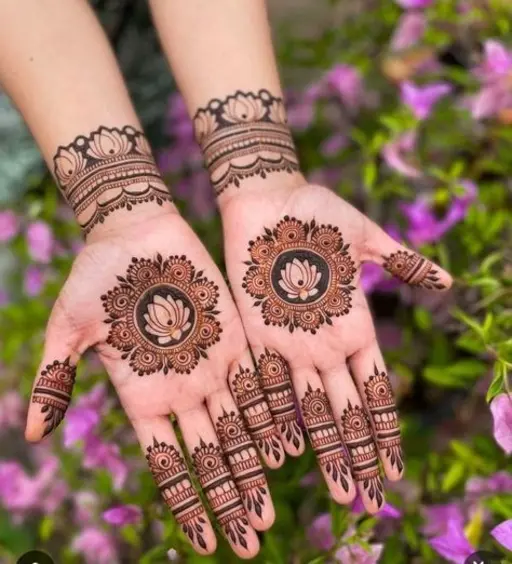
Minimal Mandala Design
-
Draw a small circle in the center of your palm.
-
Add petal-like shapes around it, then surround these with dots.
-
Extend small dotted trails to your fingers for a delicate look.
-
-
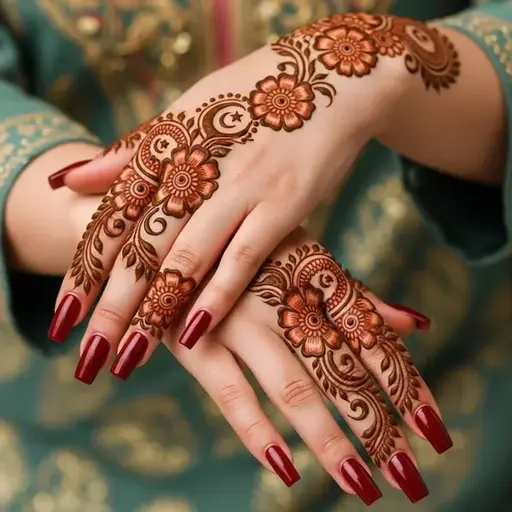
Delicate Flower + Vine Trail
-
Begin with a simple flower (5 petals) on one side of your palm.
-
Draw a vine coming out of the flower, curving across the palm.
-
Add small leaves and dots along the vine.
-
-
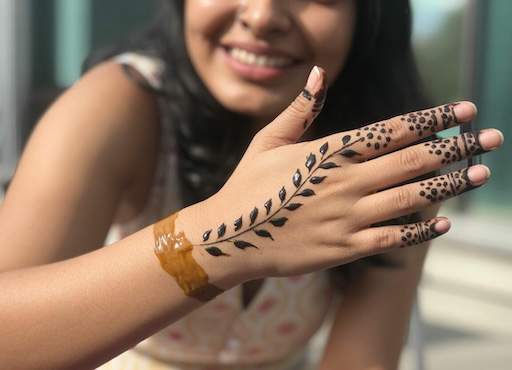
Leafy Vine Design
-
Create a flowing vine from the wrist or finger base.
-
Add leaves of varying sizes along the vine.
-
Use dots or tiny lines to fill some spaces; leave others open for a breezy feel.
-
-
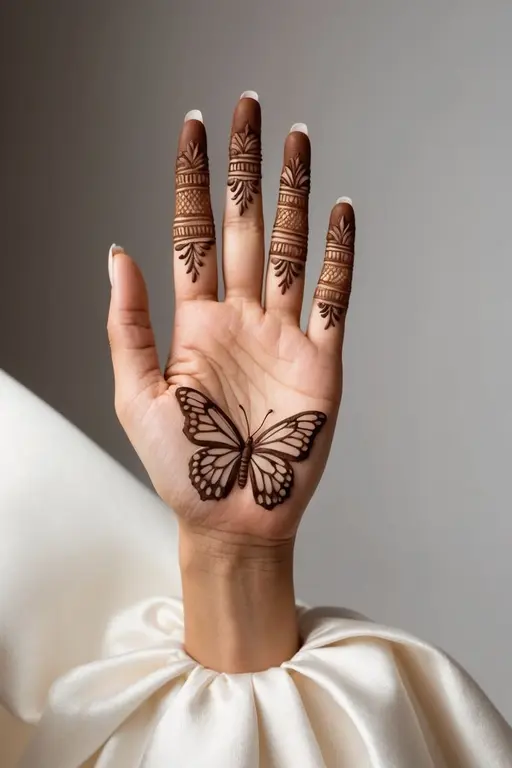
Butterfly Motif
-
Draw two small connected teardrop shapes to form the butterfly wings.
-
Add a small body in the center.
-
Decorate the wings with dots, lines, or mini floral shapes.
-
-
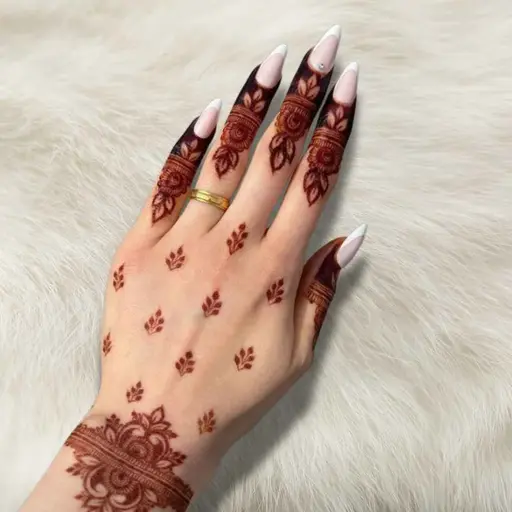
Dot-only / Dotted Trail Design
-
Use only dots of different sizes to create a pattern (e.g., cluster of small dots forming a semi-circular trail).
-
Run a dotted line along a finger or across the palm for a minimalist effect.
-
-
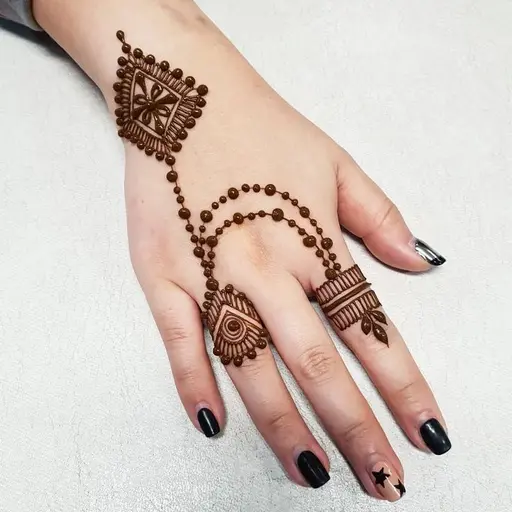
Ring Finger Chain Design
-
On just one finger (usually the ring finger), draw a chain-like pattern: small circles + leaflets + dots.
-
Extend a tiny vine or loop from this chain onto the palm for a cohesive look.
-
-
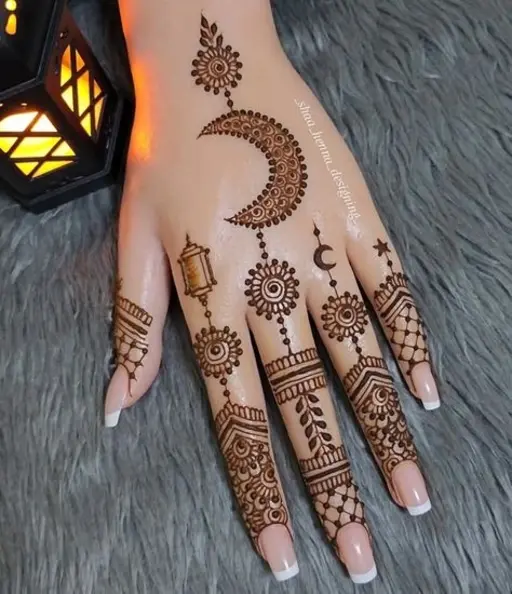
Half-Moon Palm Design
-
Sketch a crescent (half-moon) on the side or base of your palm.
-
Fill it with very simple elements such as petals, dots, or net pattern.
-
Optionally, add radiating lines or dots around it for a sunburst effect.
-
-
Side Palm Creeper
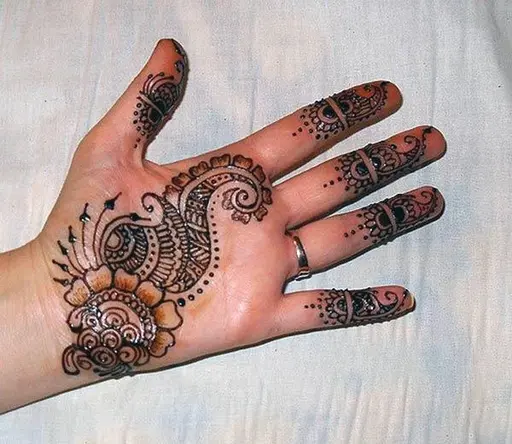
Side Palm Creeper -
Draw a vine starting from the outer edge of your palm.
-
Let it creep up in a natural flow, adding leaves or small flowers.
-
Add dots or small curls to make it more whimsical.
-
-
Mesh / Net Pattern
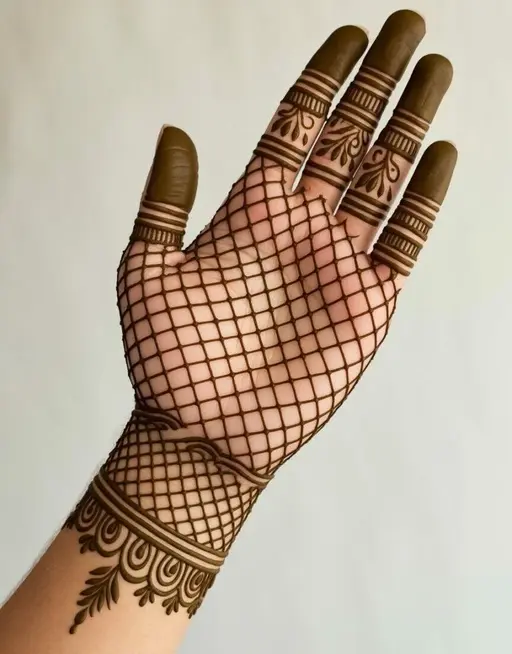
Mesh Net Pattern -
Draw a grid of criss-cross lines (like a net) in a triangular or circular section of your palm.
-
Add a dot inside each cell of the grid or leave some blank.
-
Combine with a small motif (flower, leaf) at one corner.
-
-
Heart Motif Design
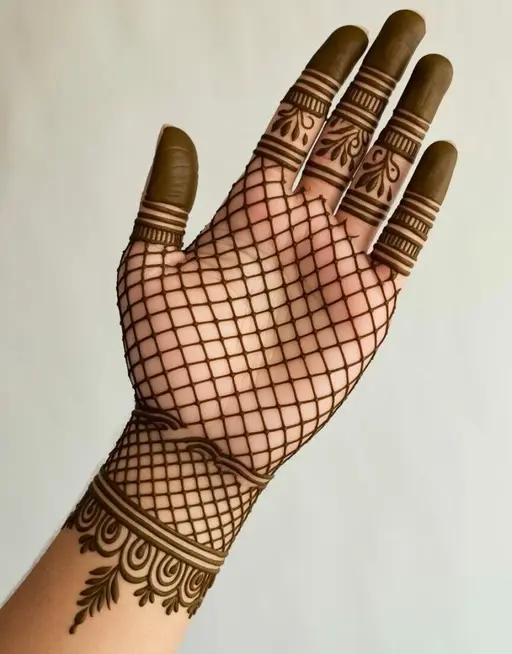
-
Draw a simple heart (or two) in the center or side of the palm.
-
Surround it with little dots, leaves, or swirl lines.
-
Optionally, make a dotted trail from the heart to your fingers.
-
Step-by-Step Tutorials for 3 Favorite Mehndi Designs
Here are detailed tutorials for three designs that are very beginner-friendly:
A) Minimal Mandala Design
-
Center Circle: Start by drawing a small dot in the center of your palm, then enlarge it into a circle.
-
Petals Around: Draw 5–6 teardrop/petals around the circle, evenly spaced.
-
Outer Border: Around those petals, draw another layer of slightly bigger petals.
-
Detailing: Add tiny dots between the petals and on the border.
-
Finger Trails: From the outer border, draw short dotted lines or a small leafy vine toward each finger.
B) Butterfly Motif
-
Wings: On your palm, draw two teardrop-shaped wings that connect at the narrower ends.
-
Body: Create a small vertical line or elongated dot in between or just below the wings.
-
Wing Decoration: Inside each wing, draw smaller teardrops, tiny dots, or flower motifs.
-
Antennae: Draw two small lines from the body with a dot at each tip (optional).
-
Accents: Add trailing dots or a vine from the butterfly toward the fingers or wrist.
C) Mesh / Net Pattern with a Motif
-
Grid Base: Draw two sets of parallel diagonal lines across a section of your palm to make a net.
-
Cell Decoration: In each little diamond shape, add a small dot or leave some blank for variation.
-
Motif Corner: Choose one corner of the net and draw a small flower, leaf, or swirl there.
-
Border: Outline the net area with a thin line or a row of dots to frame it.
-
Connecting Trail: From the motif, draw a vine or dotted line that goes toward another part of the palm or finger.
How to Customize & Combine Motifs
-
Mix & Match: Combine a mandala in the center + a dotted trail + a side vine to make your own design.
-
Symmetry vs Asymmetry: Use symmetric designs (same on both sides) for balance, or asymmetric ones (motif on one side) for a modern feel.
-
Negative Space: Leave intentional blank areas to make your mehndi look airy and elegant.
-
Line Variation: Use thicker lines for outlines + fine dots inside for contrast.
-
Color / Depth: Once your mehndi stains, you can darken parts via “spot darkening” – by keeping paste longer in some areas.
Also Read: Aavot App Hair Style Download Free Online 1.0
Common Beginner Mistakes & How to Avoid Them
| Mistake | Solution |
|---|---|
| Uneven lines | Practice on paper, use steady support, and apply consistent pressure. |
| Smudging while drying | Rest your hand, avoid touching; use a light seal (sugar-lemon) if needed. |
| Overfilled cone | Use medium fill; avoid too much henna to prevent blobs. |
| Too basic patterns | Gradually increase complexity by combining motifs. |
| Lines too faint | Use a slightly larger tip, or go over lines once after first pass. |
Practice Plan for Beginners
-
Daily Practice (5-10 min)
-
Draw 20 dots, 20 swirls, and 20 short lines on paper.
-
-
Weekly Drill (30 min)
-
Pick one simple design (mandala / leaf vine / mesh) and draw it 5–6 times.
-
-
Design Copying
-
Use images from Instagram, Pinterest, or design galleries (like Fabbon or MyMehndiDesign) to copy and replicate.
-
-
Freehand Challenge
-
After two weeks, try inventing your own mini design using combined motifs.
-
-
Sharing & Feedback
-
Take photos of your practice, compare over time, ask for feedback from friends or online mehndi communities.
-
FAQ
Q1. How long does mehndi stain last on the front hand?
-
Typically, mehndi on the palm (front hand) can last 5–10 days, depending on how well you care for it and your skin type.
Q2. Can I apply mehndi by myself?
-
Yes! With simple designs (like the ones above), self-application is very doable — just take your time, use a stable surface, and practice using paper first.
Q3. How can I make the mehndi stain darker?
-
Let the paste dry fully, seal it with a sugar-lemon mix, keep it on as long as possible, and avoid water for a few hours after scraping. Some people also apply a light balm or balm-oil later for better stain.
Q4. What if my lines are shaky?
-
Stop, take a break, practice again on paper, and maybe use a slightly larger tip to give you more control.

